Saturday, February 26, 2011

De-stressed

Hi ladies!
It's that time again, OCC Challenge time!  This week, our challenge is hosted by Sarah at THinkING STAMPS.  Now I want you all to send her some love, she lives in Christchurch, New Zealand, where the recent earthquake was.  There is a lot of devistaion, her house was flooded and she was looking for a place to stay last we typed.  Send her all your thoughts and prayers this week, it's a very scary time for her, her friends and family.
On a brigthter note, her challenge this week is De-stress with Distressing! ...how appropriate...  Following the sketch she provided, here is the card I made.

I'm giving it to my Mother-in-law this weekend, she's visiting and we're celebrating our birthdays tonight with the Tierney clan.  I distressed the panels and added white paint to make it a little more spring-y.  Now go and release some stress and distress with us!

Thursday, February 24, 2011

Hop along!

My first ever Taylored Expressions Blog Hop!  Their stamps make the most adorable cards, like this one I had published in the Favorite Occasions Volume 2 issue of Paper Crafts Magazine.  Super cute, eh?
Now a short explaination about these cards.  Did anyone read Jessica Witty's post on PCConnection yesterday?  I was so at that place on Tuesday night, a great ideas in my head that just wouldn't translate into paper...I hate it when that happens...  So, I ended up making 2 cards for the hop. 
Taylor gave us our challenge for this hop, 'Going Green' with an optional sketch to use.  This is the card I was having trouble with.  I love TE's 'Hanging Out' stamp set and wanted to use it with the sketch provided and decided to 'go green' by using only scraps I had on hand.  Since I have been working on calls this week, I had a lot of fun options to use!  I followed the sketch...which is adorable...made those adorable little birds the 3 dots below the panel...genuis I thought... then it all went down hill from there...quickly...

This ended up being too fussy or not finished...I can't figure it out.... Perhaps the patternd paper needed to be framed?  It just doesn't seem to work for me.  That's when I decided to make another one with TE's CreativiTEA stamp set

This card came together quickly...except for the time it took to cut out the teapots and frame...  Lots of Shimmer spray on this and it came together much better!  That fabric doily, the entire card and the damask pot are all sprayed with Key Lime shimmer spray....yum...  I also love how I did the teapots, they are embossed with Ranger Pearl Silver EP.  When you use white pigment ink, it becomes the perfect pearl white color.  The second pot looks like porcelean, lovely!  Being the forward thinking gal I am, I knew I would enter these in the Moxie Fab Stampin' Techniques Paper Piecing challenge as well.  Both of these sets are pefect for using this technique, it just takes a toll on my hand...introducing the claw...

Alright - take a few moments now to check out all the other hoppers along the TE path!  You'll get so much inspiration...it'll keep you stamping for atleast  50 days...

Monday, February 21, 2011

Do I dare?

I think I must... dare to take part in the Moxie Fab Get Daring with Decorative Tape challenge!  This was a simple card, inspired by the only decorative tape I had....picked up on clearance a year back...  I decided to use it in a fun, retro-shabby-chic creation featuring the Cosmo Cricketpaper...I think... and PTI apron stamp.

I had to cut the tape in half for the corner strips, but not for the pleating...I could have though, it's pretty wide...  This was part of a package that had black tape in it for Halloween.  Perhaps I'll make another one for the challenge with those.
Don't forget to enter in my drawing for some Simple Shabby yummies!  Click on the link at the top of the blog for more details.

Saturday, February 19, 2011

Trigger Tuesday

On Saturday...Better late than never!  Look at this lovely photo Cath put up for this weeks Trigger Tuesday challenge at Moxie Fab.  Doesn't it look lushious?  I just want to crawl into that on a cold winter's day, with a good book and a cup of hot chocolate...mmmm.... 
With this inspiration, I made a cute little frame for my mom to put up in her new house.  She needs to slow down and enjoy this little things in life and not work so hard, I thought this sentiment could be a nice little reminder...are you listening mom?... 

This is a small little frame about 5" square.  I picked up a 3 pack of them at the Target $1 spot a few years back.  Time to make something cool with them, don't you think?  The frame was a perfect white, so I distressed it with a pair of flower clippers...the only thing I had on hand to use...
I cut the little squares 1", stitched them on a piece of crumb cake, distressed them and lightly added white paint around the edges.  The blanket in the photo reminded me of these fabulous fabric doilies I have, and had to use one for this...aren't they wonderful?...  I plan on making a few kits with these to sell in my etzy shop...whenever I find some time...

Christmas in February?

Oh jeez... this is the second Christmas card I've made this week! ...It's really only because I got a great new set that I am in shabby-love with...
All us DT girls have been busy over at Our Creative Corner, not only with today's challenge, but also with the amazing turnout for last weeks challenge...we had over 180 ladies play along, yea!...  It will be a few days before we announce our fav's but until then, join us for this week's challenge!
The lovely Sarah is hosting us, and her challenge is to use a sentiment stamps to create a backgound or panel for your card.  Now, being the resourceful gal that I am...and have limited time to stamp...I popped 3 birds with one stone and also made this creation for the Moxie Fab Stamping with Shimmer Sprays and the Flourishes Neutral Beauty challenges.

This is a VERY monchromatic card - white and greys, a change of pace for me.  I stamped the panel with the sentiment stamp several times with Versamark, Going and Basic Grey on SU! Glossy cardstock, and also embossed one with white EP.  I then sprayed it with Tattered Angels Granite Shimmer Mist, let it dry, sprayed again, let it dry, sprayed again...you get the idea...  I loved how the spray puddled in places.  I gently rubbed with my finger the Versamark images when everything was dry and it picked up the shimmer like a chalk...love it!... 
Isn't this lovely and shimmery? ...can you tell?...  I also added the shimmer spray to the framed sentiment as well.  Now, here's a tip - I discovered that with the glossy paper, you have to use a spray fixative to keep the shimmer from smearing off ...aerosol hairspray works... so remember to have that on hand.
I ended up using a similar layout to my WCMD card, 'cause I like it, and it worked with this.

Friday, February 18, 2011

Did you see it?!?

Right there, page in Paper Crafts March/April issue.  Go on, take a look...I'll wait...  That's my card, top right...yup that one.  That's my big winner for the World Card Making Day Contest!  All that great stuff...lovin' every minute of it!  Here it is close up for you to see
It's simple shabby!  So to celebrate this occasion, I'm going to have a little giveaway!  Here's what you're gonna win in my Simple Shabby Supplies giveaway...all tems inspired by this creation...
Paper Crafts March/April issue
4 fabric doilies (2 white/2 ivory)
6 crystal and pearl pins
5 yards of assorted hand-dyed seam binding ribbons
2 yards hemp twine
2 yards burlap twine
Not a huge giveaway, but all really fabulous shabby things!  All you have to do is leave a comment here...I'm making it easy this time...and I'll pick the winner on March 7th.

Thursday, February 17, 2011

Make it when?

Monday? ...ooops!....  That's PTI's new feature, Make it Monday's that is.  It's a bi-weekly challenge, where the winner gets a new PTI set!  How fabu is that?  This week, Erin and Nicole have challenged the world to create a card with a vellum sentiment strip.  Nicole's card, was perfect, simmple and lovely, so I was hoping to do the same with mine.

I used my Guide Lines 2 set to make a 'lace' border on my vellum before I stamped the sentiment.  That fun paper is from the new Basic Grey's Hopscotch collection...from some blog candy I got a few weeks back...  I received it in the mail on Monday and had to break into it.  It's so fresh and fun I really love it!

Tuesday, February 15, 2011

About time...

Have you been checking out all the exciting happenings at Moxie Fab World?  Cath is celebrating the new Stamp It issue...pick one up if you haven't yet, it's great!...Now that life is slowly getting back to normal, I'm making time to get some challenges done, and there's one every day at the World. 
Monday's challenge is the Stamp It Techniques Stamping with Markers.  Now, you're not having deja'vu, I just had to include this card I made this week for the PTI anniversary, 'cause it's adorable...tooting my own horn...and it was made with markers!  I decided to break into my clear button stash and use them as tiles over the stamped image.  PTI's Damask border is the background, Each Damask image was colored with a marker then stamped on the Whisper White card stock.   I generally use this stamp set for shabby creations, but it was fun to make something outside my usual box.  I stamped the sentiment on a piece of window sheeting and placed it over the buttons so it would float over the pattern I made. 
Now, go on over to Moxie Fab World and participate in all the fun!

Monday, February 14, 2011

Be still...

my shabby heart!  Have you seen this week's challenge at the Play Date Cafe?  The colors, the inspiration photos and the DT samples are pulling at my shabby heart strings.  Just lovely...  Here is my quick creation for their challenge this week.  I made it with a new stamp set I received from my World Card Making Day win - all the winners are published in this month's Paper Crafts Magazine, did you git it yet?  I've got mine!

Joyeux Noel
Cardstock: (Very Vanilla) SU!

Patterned paper: (New Arrival – polkadot, doily) Peeples
Stamps… clear: (Joyeux Noel) Pink Paisley
Ink: (Soft Suede, Blush Blossom) SU!; Versamark; (tea ink) Tim Holtz Distress ink
Embossing powder: (Silver PEarl) Ranger
Accent: (glassline envelope) PTI
Fibers: (Hemp twine)
Tool: (zig zag cutter) Purple Cow; Distress tool

Finished size: 4 1/4" x 5 1/2"

Instructions
1. Cut card from Vanilla cardstock and distress with tea ink
2. Using Zigzag cutter to trim polkadot paper 4”x5.25”. Cut doily paper 3.75’x5” and distress the edges. Adhere to polkadot paper. Stamp sentiment along bottom edge.
3. Stamp tree image with Versamark on glassline envelope and heat emboss with Silver Pearl EP.
4. Stamp stars and postage mark on glassline envelope. Adhere to patterned paper.
5. Tie hemp twine around panels and adhere to card.

Cameo, oh Cameo...

Where for art thou Cameo?  Oh there you are! 
I have always LOVED cameos and those black silhouettes images you now can see, well everywhere.  I've wanted to get one of those made of my girls every time we're at Disney World.  They have this amazing artisan that hand cuts them out while you sit and watch.  It's really amazing.  So when I saw this stamp set from Kim Wilson Designs, I had to get it!
I made this for two things, first for the recent call for PaperCrafts Magazine...it didn't make it... and in case it didn't make it, I wanted to put it in the current challenge at Moxie Fab called Appearance of Cameos and the Waltzingmouse Sketch Challenge this week.  It's simple, and a little shabby.
Oh Cameo
Cardstock: (Going Grey, Basic Grey; Pink Pirouette) SU!

Other paper: (White Vellum) SU!
Stamps: (Paris) Kim Wilson Designs; (Polka-dot) SU! – retired can use PTI Polka-dot; (Damask – damask and sentiment) PTI
Ink: (Basic Grey, Going Grey, Whisper White) SU!; Versamark
Embossing powder: (Silver Pearl) Ranger; (winter white) SU!
Accent: (pink rhinestones) Kaiser Craft
Fibers: (white grosgrain); (pink seam binding) Snug Hug
Tool: (corner rounder) SU!

Finished size: 4 1/4" x 5 1/2"

Instructions
1. Cut card from Going Grey cardstock and gently ink the edges with ink. Stamp and emboss sentiment on bottom corner.
2. Cut 4.25”x3.75” panel of Basic Grey cardstock. Stamp damask with ink. Round one corner.
3. Adhere ribbon strips to Basic Grey panel and adhere to going grey card.
4. Stamp frame image on Going Grey cardstock with Basic Grey ink. Cut round image.
5. Stamp cameo image on Pink Pirouette cardstock and heat emboss with Winter White EP. Cut out to fit inside frame and adhere.
6. Adhere completed frame.

Saturday, February 12, 2011

I'm addicted...

Here I am in Detroit, still posting.  I think I may have an addiction...my husband seems to think so...  I'm checking all my computer 'work'...that's my word for it, to justify the time I spend here...before our day gets started.
Here is a creation I made on Thursday for this weeks challenge at Our Creative Corner and it just so happens to fit today's Papetrey Ink challenge!! ...lucky me!...  The challenge this week at the OCC, is to create a card with paper piecing or fussy cutting; and the challenge today at PTI is to imcorporate something MEGA in your creation.   Was I lucky or what to have added a mega size number to this weeks OCC challenge? ...perhaps I'm pshycic... 
Since the orginal challnege for this creation was paper piecing, this card is made ENTIRELY from items in my scraps box...except for the red card part...  The only item however on this that is PTI, is the button...hopefully it still qualifies for this challenge...  Had I not been using scraps, I would have used my Mat Stack #4 go-to die instead of the blue circle. 

The number is covered with pieces of patterned paper, and the red stitching is actually Hambly screen printed rub-ons.  This is a test run for Lily's 7th birthday.  I'm already planning her party...in April...a girls get-together of her friends in class...I know, I'm obsessive...  Anyhoo - I made this as a possible color combination for her party inspired by the Amy Butler multi colored print.  Pink, grey, red, sky blue..not on the paper, but I liked it... and lime green.  Fun, right?  It was a risky combination, but I really like it!

Friday, February 11, 2011

Shabby Sentiments

Well, I'm on my way out of town for the funeral.  The little one is napping and the older one isn't home for another hour, so I thought I'd post these while I had the time.
This is a card I created for the PTI Make it Monday challenge, but also for the Shabby Tea Room DT call.  It's not what I had in mind for the DT call, but with time running out before our trip, I decided to combine the two.  This is the inspiration photo The Shabby Tea Room provided.  Originally, I had wanted to make a patterned paper with my PTI Delightful Dahilas set...white embossed on pink pirouette paper...with doilies, and touches of black..you know, shabby style like I make...  If I get home early I'll do it.  Anyhoo, the PTI challenge is to make a simple card with assorted sentiment stamps.  I don't have a ton of PTI sentiments, so I had to improvise.  Nicole & Erin's samples were perfectly simple with adorable flourishes.  Here is mine, a little shabby, but simple.
The sentiments were embossed with black EP...well, except for the main one, obviously....  The heart was cut out of a doily I had and sprayed with Tattered Angels Vintage Pink shimmer spray.  And no, those aren't ghostly orbs floating around, I lightly sprayed the black paper to give it a pink shimmer, look:
Isn't that fun?  I really like adding the shimmer spray to my project when they're done.  It adds a bit of shabby softness to them.
So that's it!  If you're checking me out on Facebook, stop by my blog LilyBeth Boutique to see all the creative crafty things I'm up to!

Monday, February 7, 2011

Stress, sweets and cookies

Stress...how do you handle it?  Me, I'm an eater and baker.  Which is difficult, since I'm trying to loose another 40 lbs...  The last 2 weeks were stressful.  I baked about 10 dozen cookies...shortbread caramel bars, biscotti, italian easter cookies, million dollar peanut butter cookies, english toffee tea cakes... last week to distract me.  It was hard not to indulge.
First, my dear sweet hubby's grandmother took a turn for the worse.  She is 89 and has been taking care of herself pretty much on her own until last year.  We were able to visit her in Taylor, Michigan; give her love; and the girls decorated her room with a couple of drawings.  It was good to see her being taken good care of.  Sunday morning we got the call she had moved on to her Creator.  Dorothy was a quiet, kind and generous woman, and we were all blessed to have had her in our lives.
Also, my best friend Cristy...of 20 years...had a big surgery last Wednesday.  Thankfully, she has a great support system in place.  Cristy's hubby works for the railroad...which requires some crazy hours...so friends and family chipped in to help them out.   Her mom & dad took the kids for her, made sure they got to and from school and afternoon events.  Jodi & Margaret made sure the house was in order, dog was taken care of, and meals would be prepared for them for a few weeks.  Since I live 2 hours away and unable to help on a daily basis, I volunteered to stay with her in the hospital, ...so she wouldn't be alone...bring her cookies, and stayed with her the first night home since hubby had to work.  She's had some rough nights and problems with meds, but thankfully seems to be on the mend.
I have only been able to do a little bit of creating lately.  Here is a little box of cookies I made for my neighbor that was watching my girls for me one of the days I was gone.  It's just a little sample of the cookies I made and made it to match 
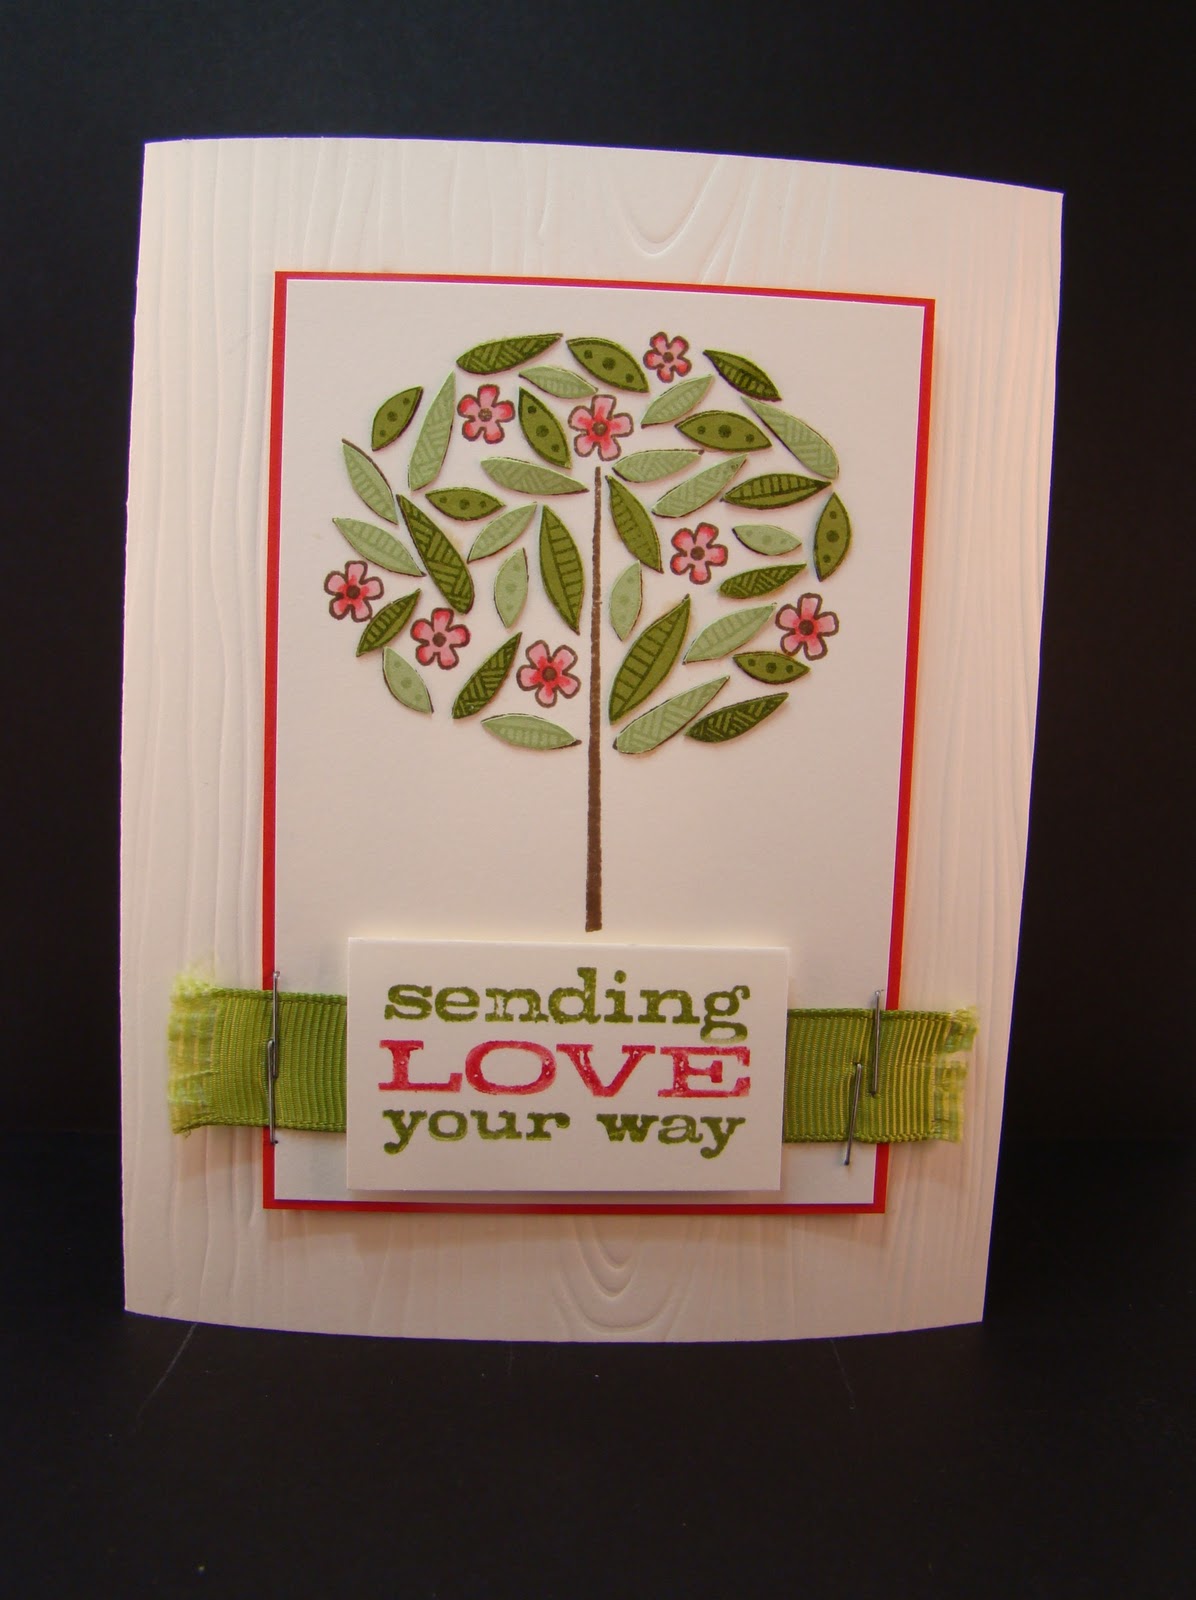
this card I made 2 weeks ago.  It's evident I'm obsessed with doilies, they've been in the last 4 projects I've made.  I'm subnitting this in the Cards Doily Challenge this week.

Finally, I have had SEVERAL requests for my recipe for the Pecan Caramel Sauce I have shared on this post and this one.  So here it is...it's an acient Chinese secret...it's really great 'cause it's made in the microwave!

Pecan Caramel Sauce
1 1/4 cups chopped pecans

7 Tablespoons butter (divided)
1 1/2 cups brown sugar
3 Tablespoons flour
3/4 cup light corn syrup
2/3 cup evaporated milk
Makes 3 cups of sauce.

1.Place chopped pecans in a microwave dish with 3 Tablespoons butter. Cook for 8 - 10 minutes, stirring twice. Watch the pecans closely to not burn them.  I use a pie dish.

2.  In another microwave safe bowl (I have a 8 cup glass measuring cup) place remaining butter and heat until melted. Whisk in brown sugar (the darker the better), flour, and light corn syrup until blended. Cook on high 6-8 minutes, stirring twice, until the sugar is dissolved.  Add in 2/3 cup (1/2 can) evaporated milk and the pecans, stir well.

3.  Store in sterilized jars.  Serve with ice cream, pound cake or pies (apple pie is yummy!).  Store in the fridge for up to 3-4 months.

Saturday, February 5, 2011

Happy Anniversary PTI!

 *read to the end for my favorite PTI creation*
*Clink*Clink*Clink*  Time for a toast....What a wonderful time to celebrate all that you are!  Unique, beautiful, quality...affordable...trendy and classic at the same time.  You surround yourself with talented, wonderful women, each with their own gifts to share and admire.  I love to visit you, see what you've been up to, and watch you grow.  You've been in my creative life now for over a year, and I'm so grateful to have you there.  You have expanded not only my resources, and my creative 'genius'...yes in quotes...you have also helped me blossom and express myself artistically every day! 
 Now, here's to you Papertrey Ink, as you continue the exciting journey you are on, I wish you years...and years, and years....of success, unwavering support from your family and fans, and the joy of watching your efforts expand the creative lives of others...as it has done mine.  So lift up your...imaginary...glasses and cheer for PTI*Ink*Ink*Ink*

If you couldn't tell, it's Papertrey Inks' 4th anniversary!  I know you know all about them, and those perfectly FABULOUS products they are able to produce every month.  I'd love to be fly on the wall during their brainstorming meetings and watch how they come up with all their amazing products...it would be easy, they are only 1 hour south of here... 
Every month at their reveals, I am amazed at what they have created and can't think of any way they can top it.  But everytime they do!  I have bookmarked every design team's blog and visit them nearly everyday.  They all provide me with wonderful inspiration.  I'm really excited about their new DT member Danielle Flanders, I can really relate to her design style - shabby, yet clean and cutesy, so Shabby-utesy!...yes I made up that word... The other great thing I love about their images is many of them are so beautiful to color or leave as an outline!  Like their Delightful Dahlias set...the only flower set I have right now, but my b-day is coming up... I can make beautiful flowers like this one with my copics...my new obsession....or keep the simple beauty of the outine for creations like this one...a winner from last week's Trigger Tuesday...or combine the two techniques for a wower like this...not to toot my own horn...
PTI is having a party over at their blog for this momentous occasion, and have asked us to post our favorite project we have made with their products to win and amazing prize!!!  I've had a really hard time picking one, as you can see with all the little photos over there on the left.  Many of those I have been honored to have grace the pages of PaperCrafts Magazine...thanks for the help PTI!...  My absolute FAVORITE creation I have made with PTI products and stamps has to be ...one I can't show you, it's getting published next month.... but this one is my second favorite!  It's the very first shabby creation I made, which made me a convert to the style...I hope I made Betsy and Melissa proud, as they have been my shabby inspirationista's...I gave this to my dad for Father's Day last year.

Simple Tree

Hello again ladies...and gents... Here I am with another challenge at Our Creative Corner!  This week, our challenge is hosted by the lovely Lori Rider at the Diva Stamper.  Your challenge this week is to create a clean and simple card incorporating a tree or branching.  I really like making this type of card, they take me a while, but I really like the results! 
So here is my creation, it does have lots of fussy cutting, but the over all card is simple.  
To carry off the whole wood, branch theme, I use the PTI wood grain embossing plate on the card front behind the tree image.  I really love how this card came out!
Now go check out the other members of the OCC design team to get inspired to create your submission!

Wednesday, February 2, 2011

Holy Ice Batman!

Yes, I live in the Midwest.  While we didn't get the snow that Chicago got, this is what Mother Nature gave us instead of the fluffy white stuff...
 It's not the best photo...it was really dark...but you get the jest of how much ice we got!...it was really quite beautiful...  The next morning, we had nearly an inch of ice.  Surprisingly, the main roads were drivable, but our street has yet to be salted.  As you can see below...
The rain came after the ice, and instead of melting the snow, it made the ice smooth and slick...kind of like a Zamboni...  It was a bit disconcerting, as I was to travel to Toledo Wednesday morning for my BFF's surgery.  I ending up having to wait only until later afternoon, and I made it here safe and sound - and Cristy had a successful procedure.  All's well that ends well!